


System requirements
- PC/laptop with Microsoft Windows 8 or higher OS and (preferably) 8GB ram and at least 1.5 GB disk space remaining.
- PC/Laptop should have an inbuilt webcam or a USB webcam.
- For Linux systems, general system requirements of docker will be applied.
- Mobile phone/tablet running Android 5.1 or later or iOS 13 or later.

Windows 8 or Higher

Linux (Docker)

Android 5.1 or Higher

iOS 13 or Higher
Installation
-
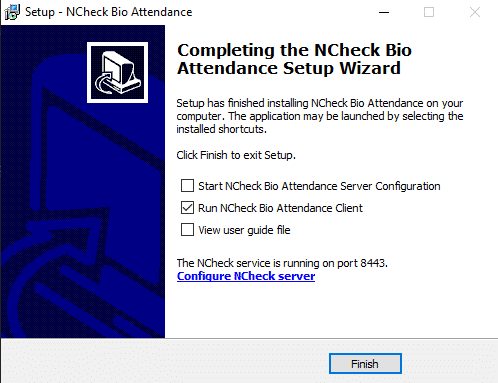
Download NCheck Bio Attendance server installation package from download page. Run installer package to install the server. Installation process will guide you through the installation process. At the end of the installation,
-
Installation waits for starting NCheck Bio Attendance server.
-
installation completion dialog shows the instructions to log in to the NCheck Control Panel.
Server configuration
NCheck Control panel can be access from the server tray icon menu from the server or from anywhere using a web browser. Use the URL https://server:port to access from web browser. As examples,
Default username and password are
-
Username: admin
-
Password: admin
Create a visit schedule
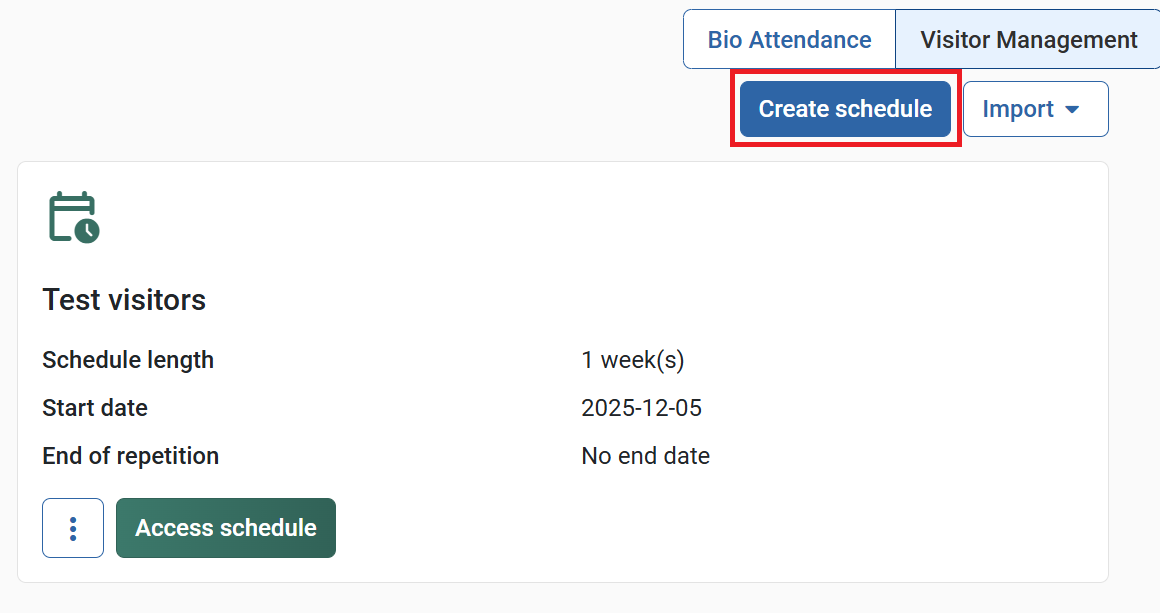
After login to the NCheck Bio Attendance control panel, navigate to "Schedule and shifts" section. There all the schedules for employee management and visitor management are available. Select "Visitor management" from top-right switch, and click "Create schedule" button.
In the "Create schedule" dialog, provide a name for schedule and select a project. This project will meet the requirements of the type of visitor management tasks performed, like "Personal meetup", "Issue movie tickets", "Doctor appointment", "Doing a payment" etc. Click on "New project and create a project by selecting the best scenario from available list of scenarios - this pre-defined scenario can be modified later, and also you can request us to create a custom scenario based on your organizational needs.
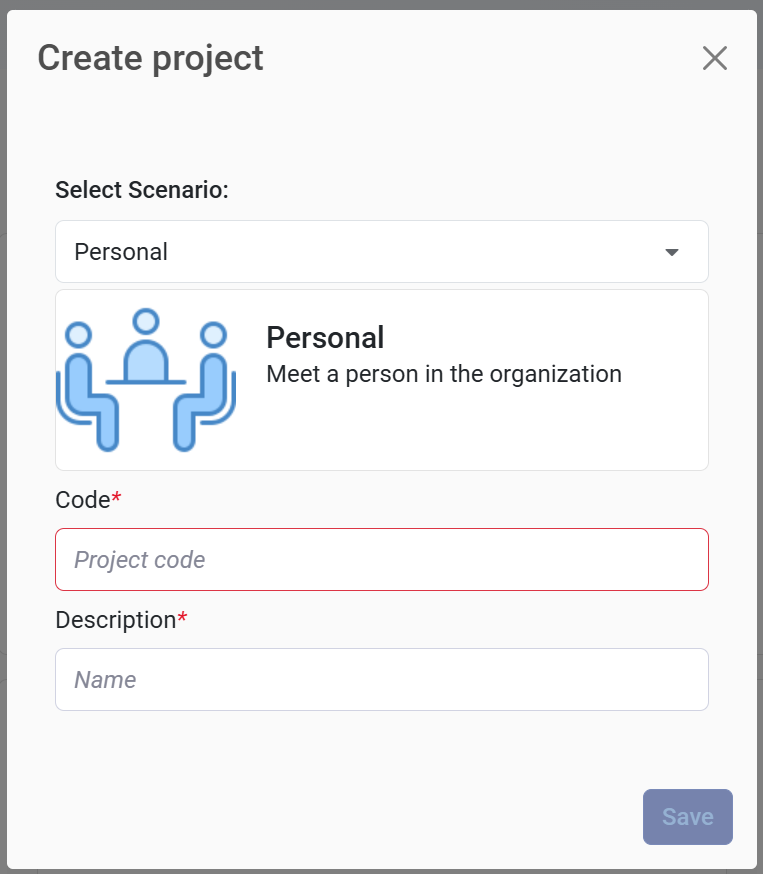
Just give a name and description to project, once saved, it will be selected on the new schedule dialog.
In the 2nd step, you can assign some employees or employee groups to this schedule. This can be decided later at schedule planning step as well. Now, save the schedule.
Plan your schedule
Once saved, your schedule is visible on main schedule view, and you can now plan the schedule for selected days using "Access schedule" view.
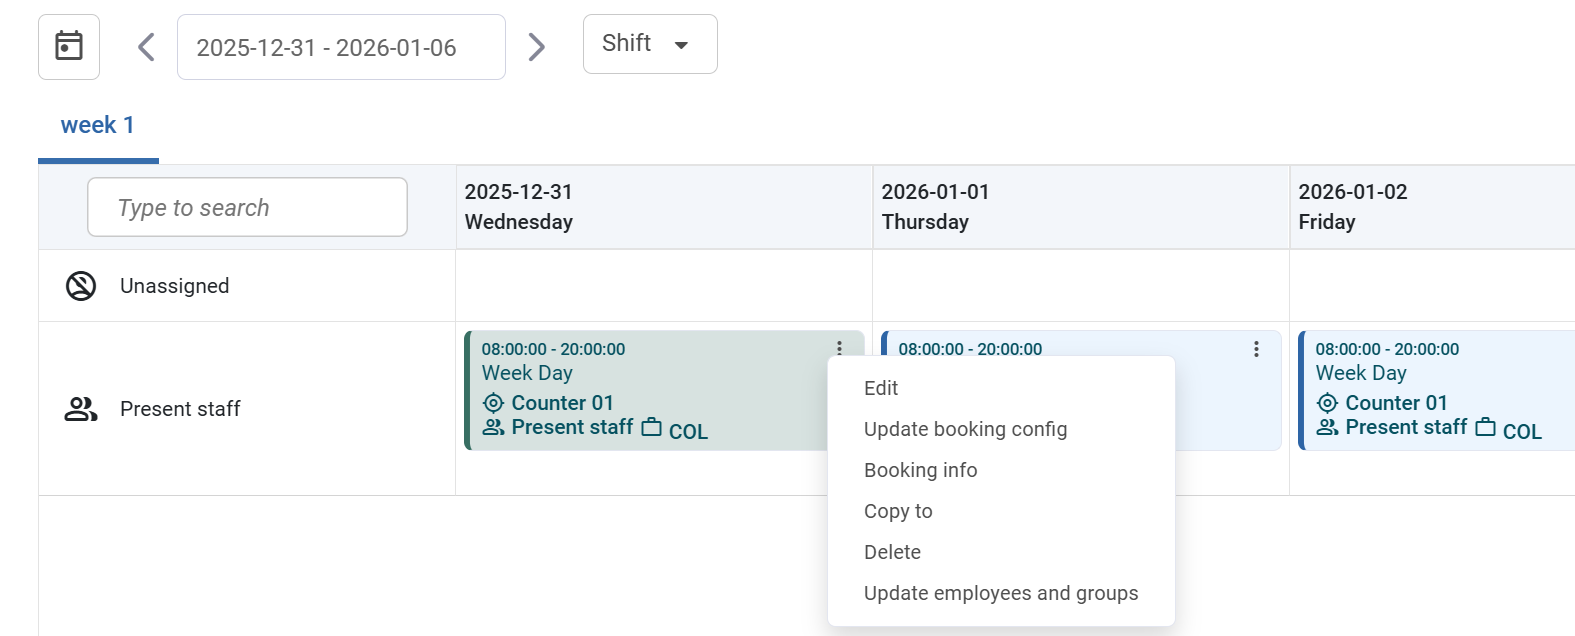
This view shows one iteration (at the begining, it's first iteration) of the schedule. If you kept 1 week as default, there is only 1 tab with 7 days of the week. Each cell represents a day schedule assigned to some user/group. If no user/group specified, it will show under "Unassigned" row.
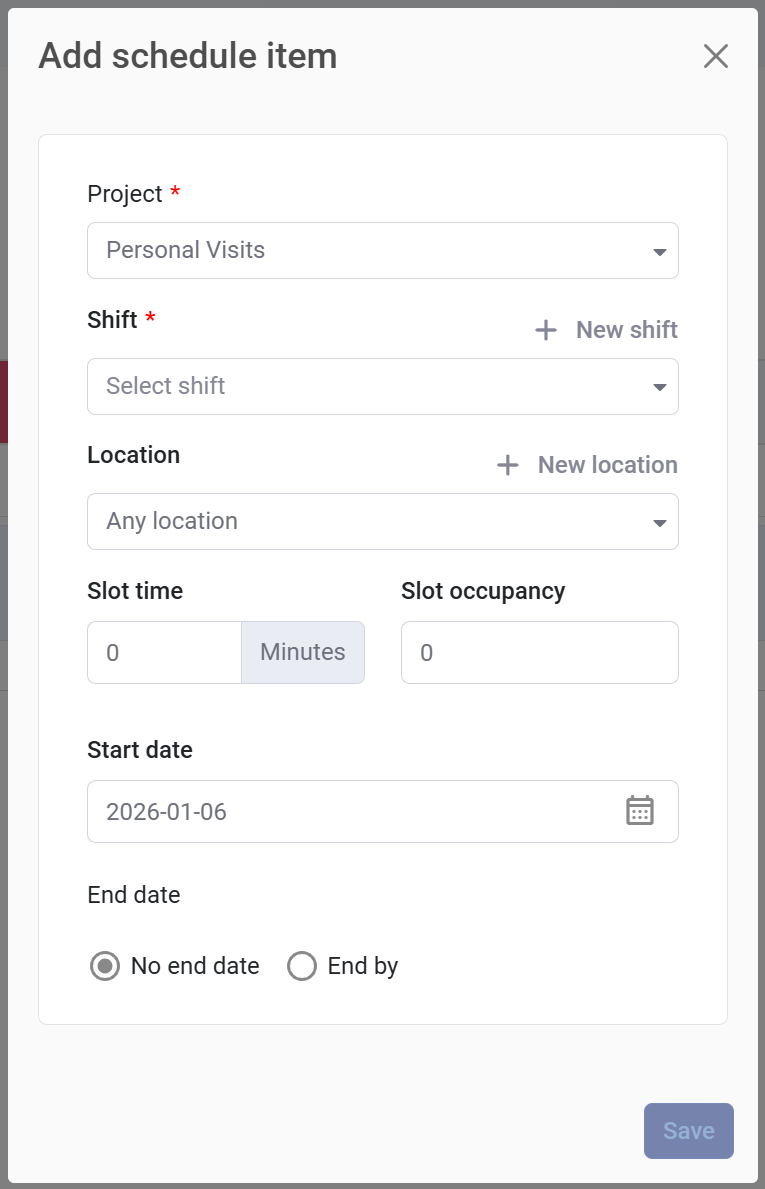
To add a schedule, click on one cell and select the shift you want to schedule. Additionally add location, slot time and occupancy values can be kept as default.
Adding same schedule for multiple days
By dragging and dropping the schedule item card into different days, you can replicate same schedule for different days. This can be done by clicking on 3-dot menu on each card and using "Copy to" option.
Once the schedules are created, now you are ready to accept appointments. There are 3 ways of creating appointments.
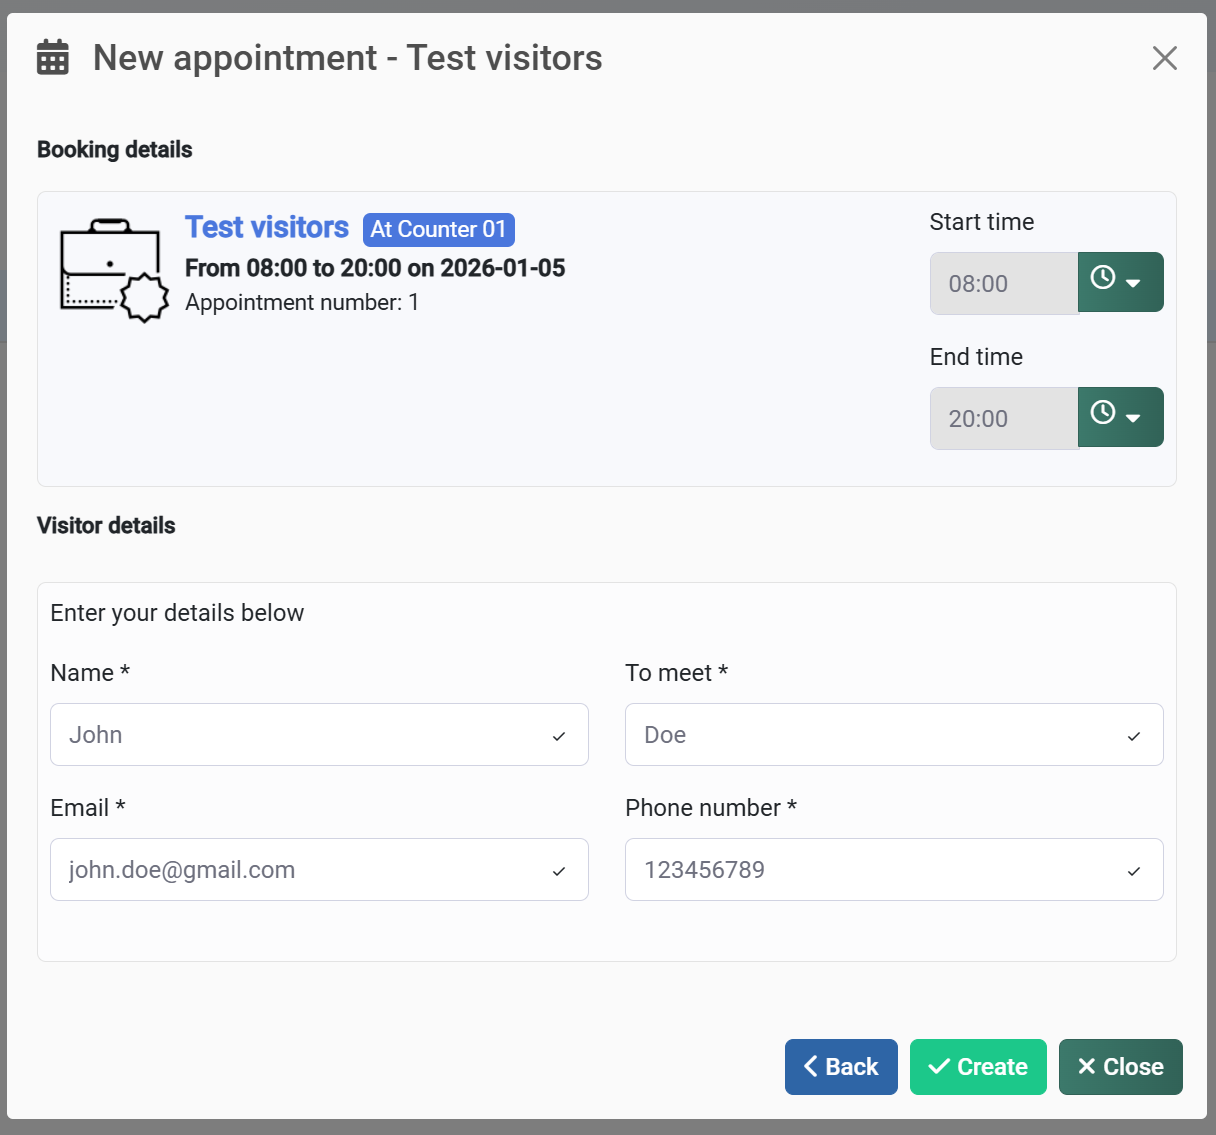
- From the control panel - Appointments menu item: click on "New appointment" and select a schedule. Fill up the details and appointment will be created instantly.
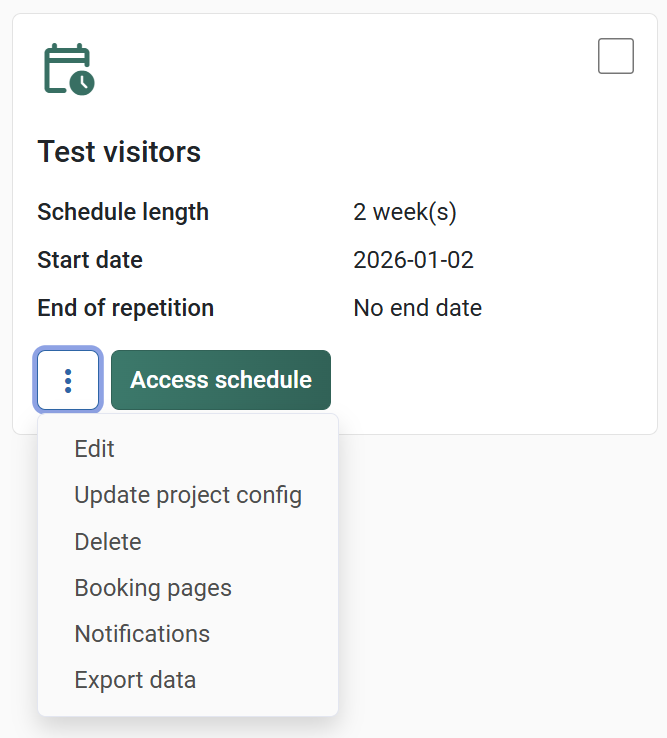
- From the online booking page - URL for online booking page can be found at 3-dot menu of the schedule. There's an item called "Booking pages". Click and copy the schedule URL and share it.
- From the kiosk booking page - If the schedule scenario allows kiosk booking, you can register a device as kiosk. Then that device will show the booking page for the schedule.
Place a visitor appointment online
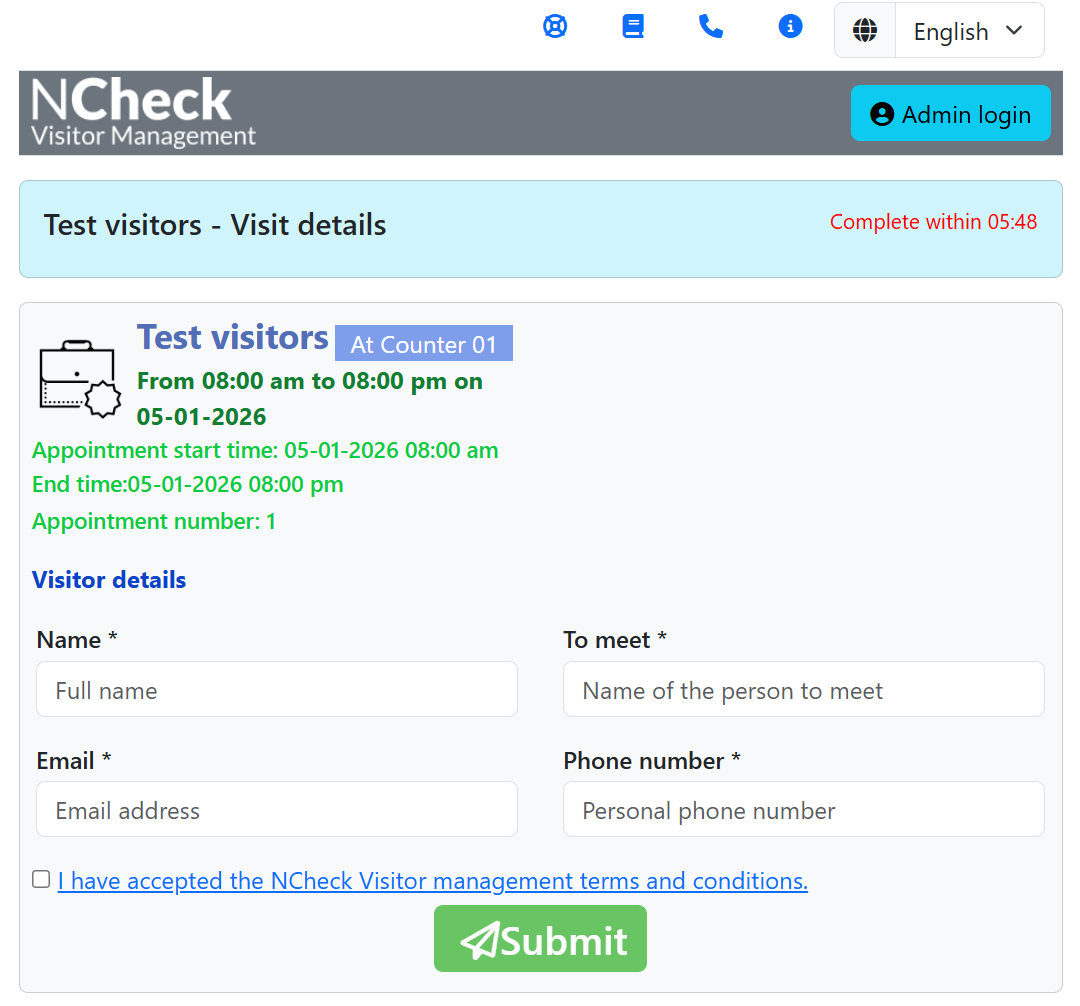
If “Online booking” is enabled in the project configuration, system allows to accept appointments via online booking page, where you can find the link on schedule menu "Booking pages". Navigate to the page using a web browser, you can create an appointment publicly, and based on the project configuration, appointments are automatically accepted, or kept as "Pending".
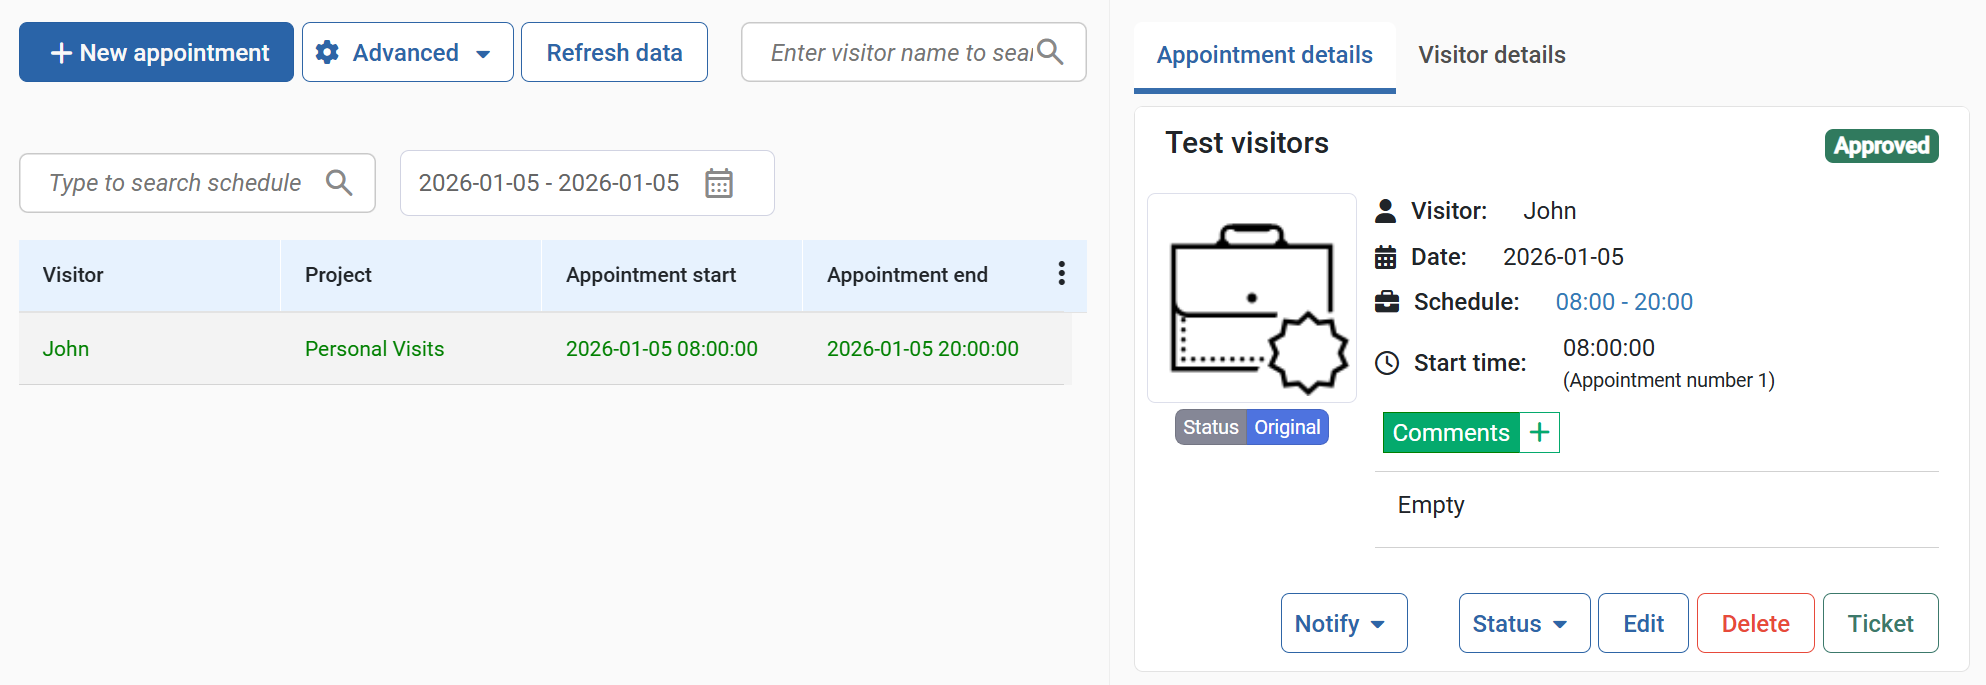
Once the appointment is created, it can be seen from admin control panel "Appointments" section, and admin can perform additional operations, including editing, deleting, changing visitor information etc.
Setup visitor self-registration kiosk and place a visitor appointment
-
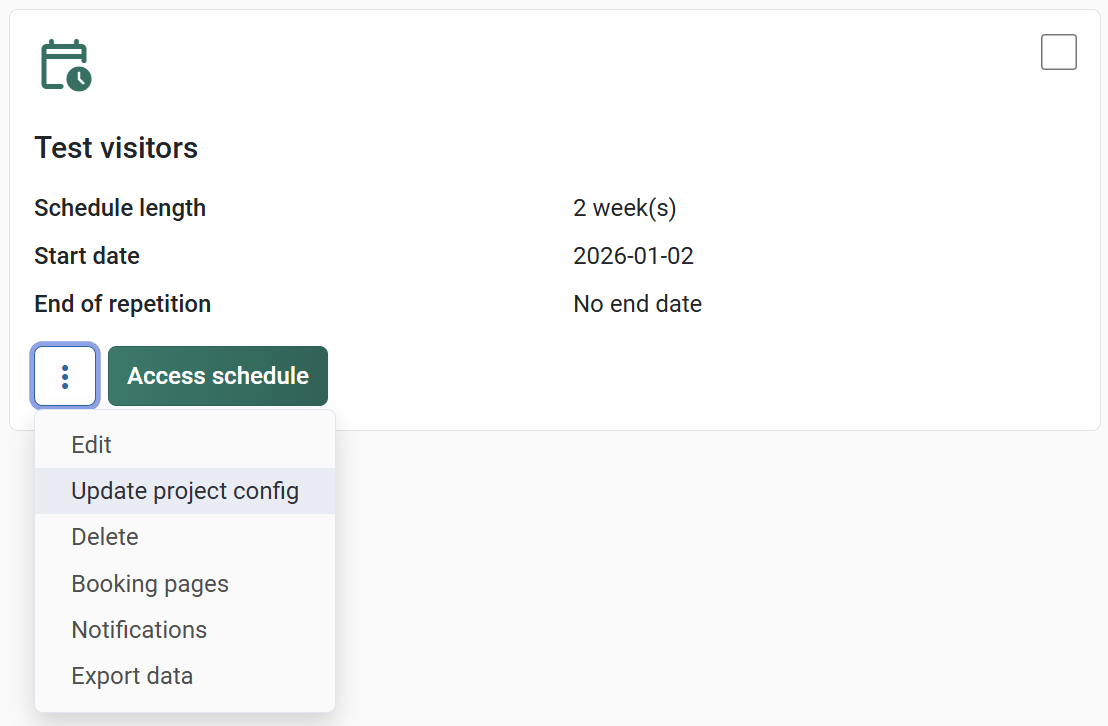
Go to Schedules and shifts to select the schedule. Go to 3-dot menu option and select update project config option.
-
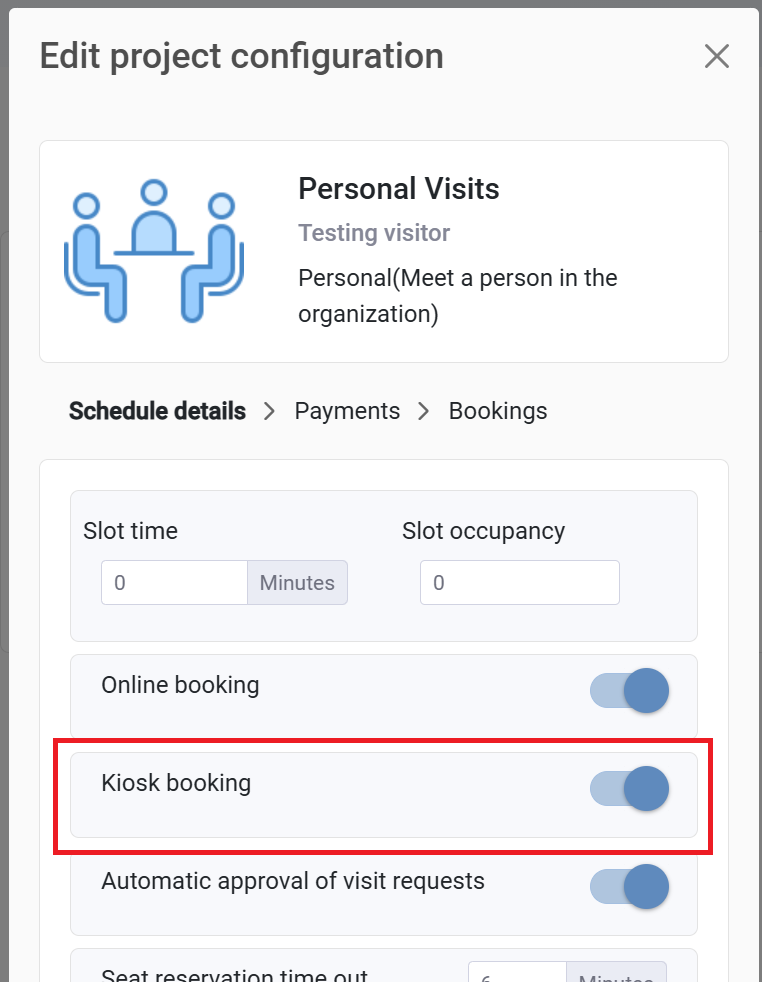
There, make sure "Kiosk booking" is enabled.
-
Go to "Device management" and click on "Register device".
-
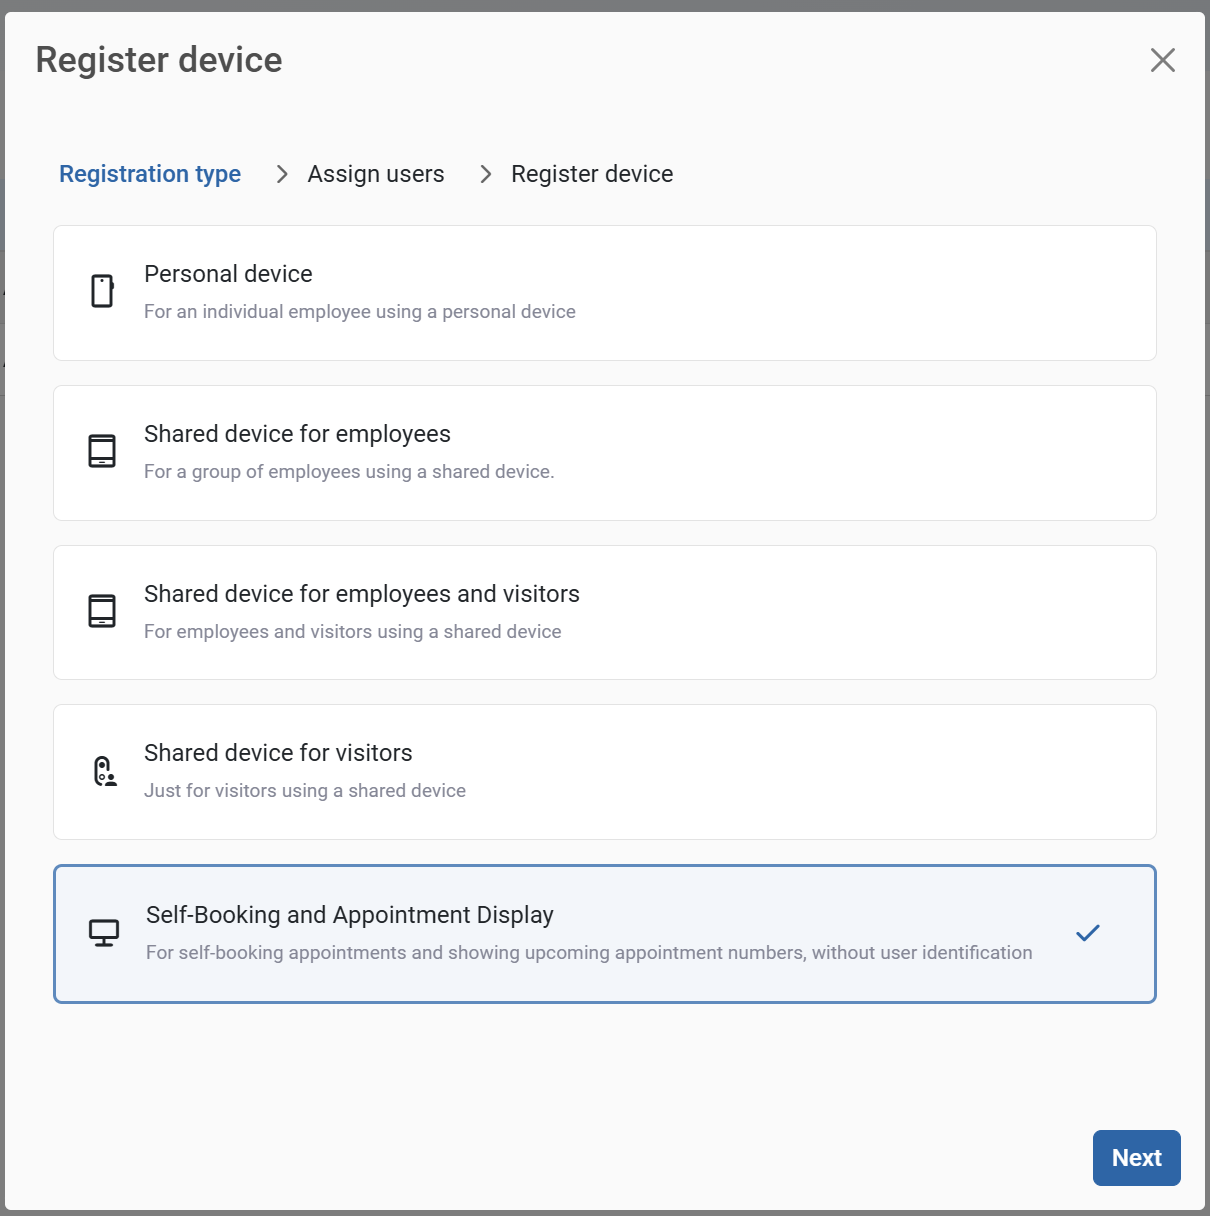
Select device option "Self-Booking and Appointment Display" to register as a kiosk device. On the wizard, select the schedule you want to show on kiosk device. Now generate a registration QR code.
-
Install NCheck Attend Client for Windows or Android
-
Register the client using the generated device registration code
-
After registration, device shows the appointment booking view for the Kiosk.
Set up visitor attendance device
Visitor attendance device is used to authenticate visitors and record visitor check in, check out and access events. Attendance device registered for a location of a visit schedule records visitor check in and check out events. Follow below steps to set up a visitor attendance device
-
Go to device management and click on "Register device"
-
Select option "Shared device for visitors"
-
Select the specific location, or keep "any location" to allow check-ins without location restriction.
-
Install NCheck Bio Attendance Admin Client for Windows or Android
-
Register the client using the generated device registration code
-
Device is registered for the location of the schedule. Visitors who have appointments at the location can check in or check out from the device.